![]()
![]()
![]()
![]()
|
|
|
|
|
Your SSL certificate vendor may provide you with a .pfx instead of the more common - and required by VSys Live - .key and .crt files. If they do this the most simple fix is to ask them for the files in a format compatible with OpenSSL, which is what VSys Live uses. If that's not possible, below are the instructions for extracting the necessary certificate files from that .pfx file.
In order to extract the combined certificate file into a site certificate and private key, the .pfx file needs to be opened up in OpenSSL and extracted back out to a normal text file. From that text file we can create the individual .crt and .key files. This will need to be done on either the VSys Live server or any other Windows PC environment where OpenSSL is installed. This process presupposes that the VSys Live installer has been run at least once; its installation also installs OpenSSL.
openssl.cnf file already created by VSys Live. That file will be located in x:\VSysLive\Apache\conf\openssl.cnf, where "X" is the drive on which VSys Live was installed..pfx file you're working with:.pfx file, this process will likely not work.)c:\certs\certificate.txt.-----BEGIN CERTIFICATE----- and -----END CERTIFICATE----- is the site's SSL certificate. 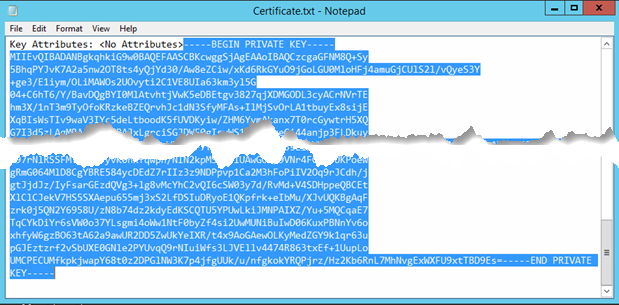
-----BEGIN CERTIFICATE----- and -----END CERTIFICATE----- sections - into a new Notepad document.c:\certs\test.crt (the .crt extension is important!)certs.txt file, look for -----BEGIN PRIVATE KEY----- and -----END PRIVATE KEY-----. 
-----BEGIN PRIVATE KEY----- and -----END PRIVATE KEY-----, into a new Notepad document. Save that as, for example, c:\certs\certs.key (the .key extension is important)..crt and .key files created here into the VSys Live installation settings.If any intermediate certificate files are required by your SSL certificate vendor, you may or may not find them in this .pfx file. Instead, get them directly from your certificate provider directly.